1
Log In to the Dashboard
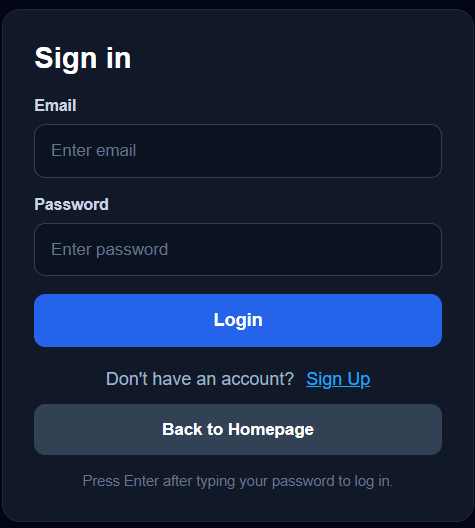
Open the WashTrac client portal and sign in to your account.
- Go to thewashtrac.com
- Select Client Login
- Enter your email and password
2
Open Manage Sites
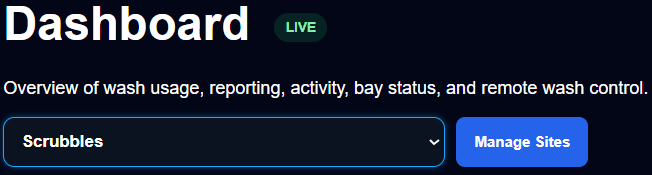
From the dashboard, open the site management screen.
- From the dashboard, open the menu
- Select Manage Sites
- Review the sites already connected to your account
3
Create or Edit a Site
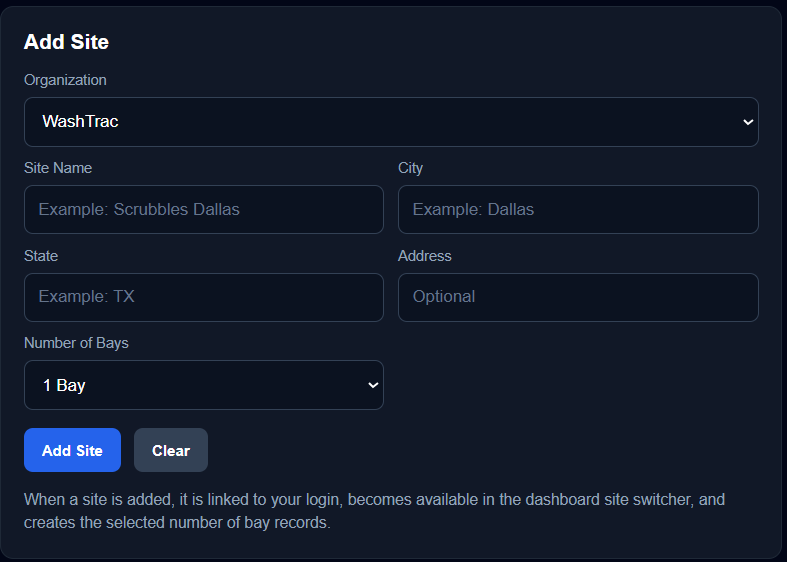
Use the Manage Sites screen to add a new wash location or edit an existing one.
- Click Add Site to create a new location
- Enter the site name and site details
- Save the site so devices, codes, and activity can be assigned correctly
The first site is created during registration. Use Manage Sites when adding more locations or updating existing site details.
4
Invite a User
Add users who need access to a specific WashTrac site.
- Open the site you want to manage
- Select the user or invite area
- Enter the user’s email address
- Send the invite
5
Assign User Permissions
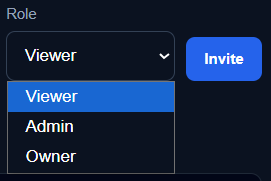
Control what each user can view or manage for the selected site.
- Choose the user’s role or permission level
- Confirm the site they should have access to
- Save the user settings
6
Confirm Site Access
After saving, confirm that the user appears under the correct site.
- Verify the user email is listed
- Confirm the assigned role is correct
- Make sure the user can only access the intended site or sites
Sites & Users Updated
Your WashTrac sites and users are now organized so the right people
have access to the right locations.
Return to FAQ & Guides